
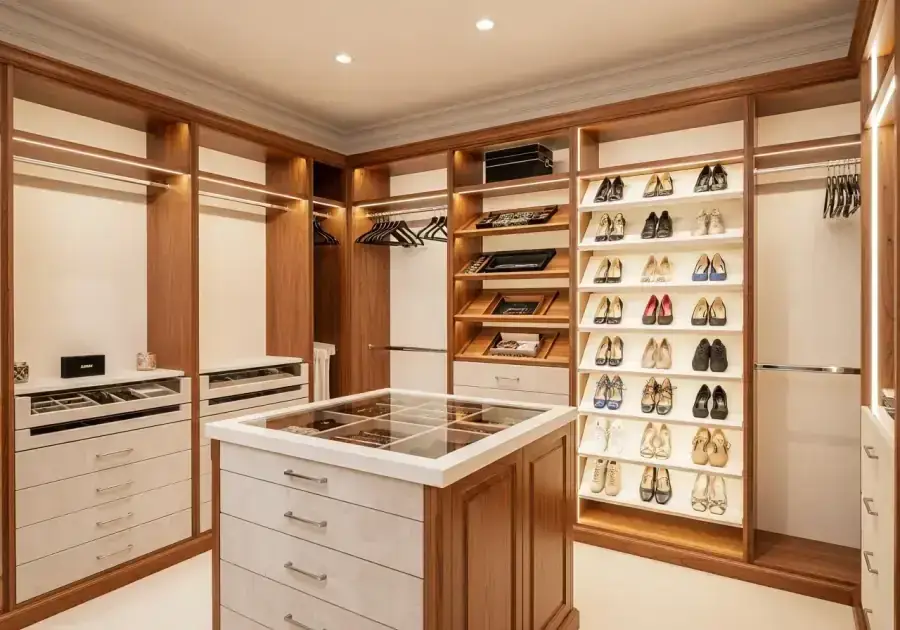
The standard reach-in closet transformation — from builder-standard wire shelving to a custom storage system — is the most common project at Comfort Concepts QCA. Here is exactly how it happens, from your first call to the finished closet.
Step 1: The Free In-Home Consultation
A designer visits your home, measures the closet precisely — every wall, every outlet, vent, and door swing — and talks with you about your wardrobe and storage needs. This conversation covers: what you hang, what you fold, how many shoes, whether you need more drawers or more shelves, and what frustrates you most about the current configuration.
No charge, no obligation.
Step 2: The Custom Design
Using the measurements and your wardrobe information, the designer creates a custom layout. For a standard reach-in, this typically involves:
- Double-hang sections on the portion of the closet where shorter garments hang
- Single-hang section reserved for longer garments (dresses, suits, robes)
- A full-height tower with shelves or drawers in a central or end position
- Shoe shelving at the bottom of one section
The design is presented as a visual rendering so you can see the proposed layout before anything is ordered.
Step 3: Finish and Hardware Selection
You choose the finish color and texture (white, gray, wood grain, or other options from the sample library) and the hardware style (handle style, finish color). Most reach-in closets use a standard melamine finish; upgrades to premium finishes are available.
Step 4: Production (2-4 Weeks)
Every panel is cut to the exact dimensions of your closet. No standard sizes. Edge banding is applied. Holes are drilled for shelf pins and hardware. Components are quality-checked before leaving production.
Step 5: Installation Day
The installation team arrives on the scheduled day. They:
- Remove the existing wire shelving (completely)
- Patch any wall damage from the old mounting hardware
- Install the new system panel by panel
- Mount all hardware — hinges, drawer slides, pulls
- Install shelves, rods, and accessories
- Do a final walkthrough and adjustment
For a standard bedroom reach-in closet, installation typically takes 3 to 6 hours.
Step 6: Your New Closet
You move your wardrobe in. The difference is immediate: hanging capacity doubled, folded items in drawers or shelves, shoes organized and off the floor, everything visible and accessible.
To start this process, call Comfort Concepts QCA at (563) 355-8295 or schedule a free consultation at our Bettendorf showroom.